
How To: DIY Tie Dye – 2 Techniques

Tie Dye has taken the world by storm- I’ll be honest, I didn’t think it would stick but I stand corrected- I don’t think it is going anywhere for a while.
So no doubt you have wanted to try it! Same! I used to tie dye stuff more often in high school and college. So I was excited to try it again.
My first attempt to tie dye was sadly a fail. I attempted to use all items I already had- and dye with food coloring. Unfortunately the food coloring washed right out in the washer 🙁
So I ended up purchasing some powder dye off amazon and gave it another shot.
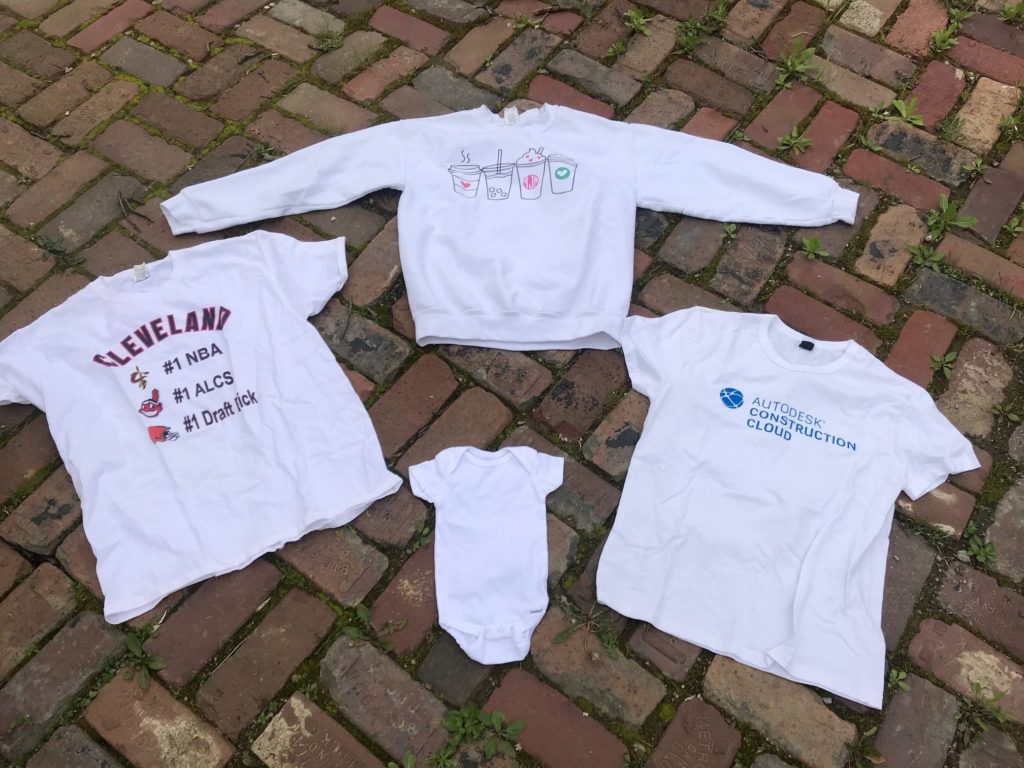
Tie dyeing is a great way to keep your promotional t-shirts and dingy white tees from being donated to Goodwill- where they probably won’t sell and could still end up as waste. I definitely encourage you to use pieces you have instead of buying new ones!
What you’ll need:
- dye (this is what i used)
- salt
- a cookie drying rack
- some recycled water bottles
- white cotton garment(s)
- rubber bands (or zip-ties)
- gloves
1. First, rinse out your water bottles and fill them with 2 cups of hot tap water
2. Next, add 1/2 to 1 teaspoon of powder dye (or whatever the dye you’re using calls for)
3. Then, add 1 teaspoon of salt, close, and shake well.
4. Once I was outside, I used a small screwdriver to poke a hole in the top of the water bottle lid to act as a squirt bottle.
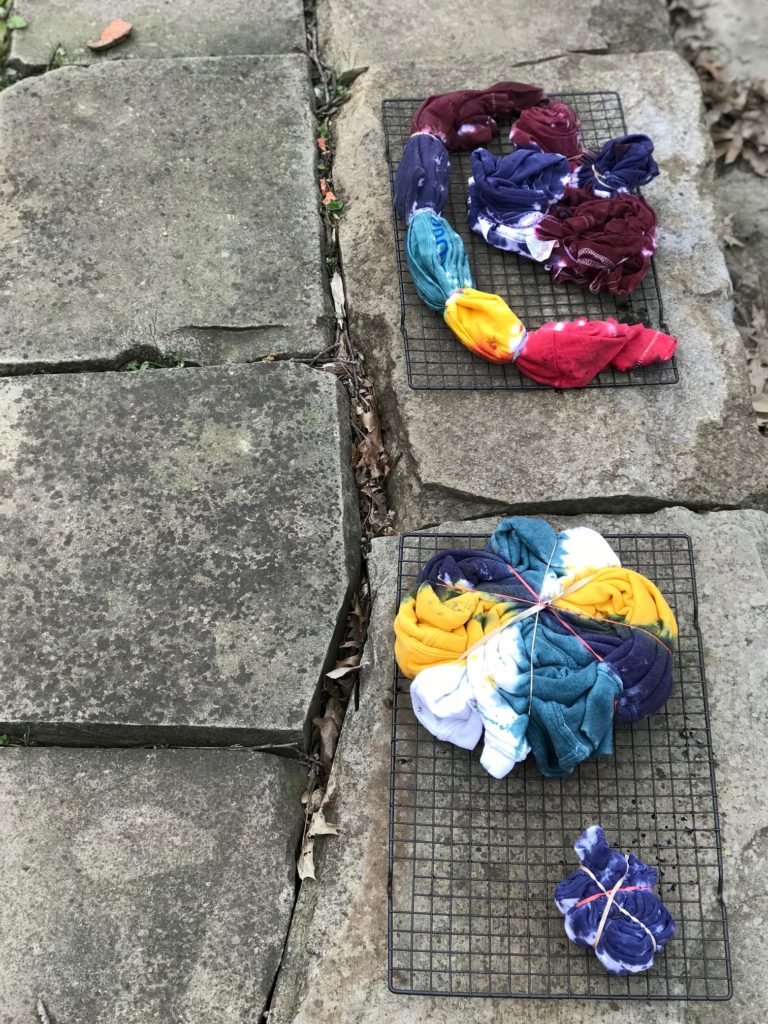
5. Next up, you have to choose your design. There are so many techniques! Use rubber bands to secure your garment and then place them on a drying rack.
6. Using gloves, apply your dye to the shirt on both sides, flip it over and do the same to the other side.
7. Let the garment sit for 30 minutes or longer.
8. Next- BEFORE you take the rubber bands off, rinse the garment out in cold water. Wait until the water starts to run clear. This is where I got a little impatient- but you should definitely keep rinsing or else the dye will bleed in the final wash.
9. Once you’ve rinsed, go ahead and cut the rubber bands! Then throw it in the wash on cold, with mild detergent.

As you can see I got a little antsy and didn’t get all the excess dye out before washing- so the red dye bled a lot.
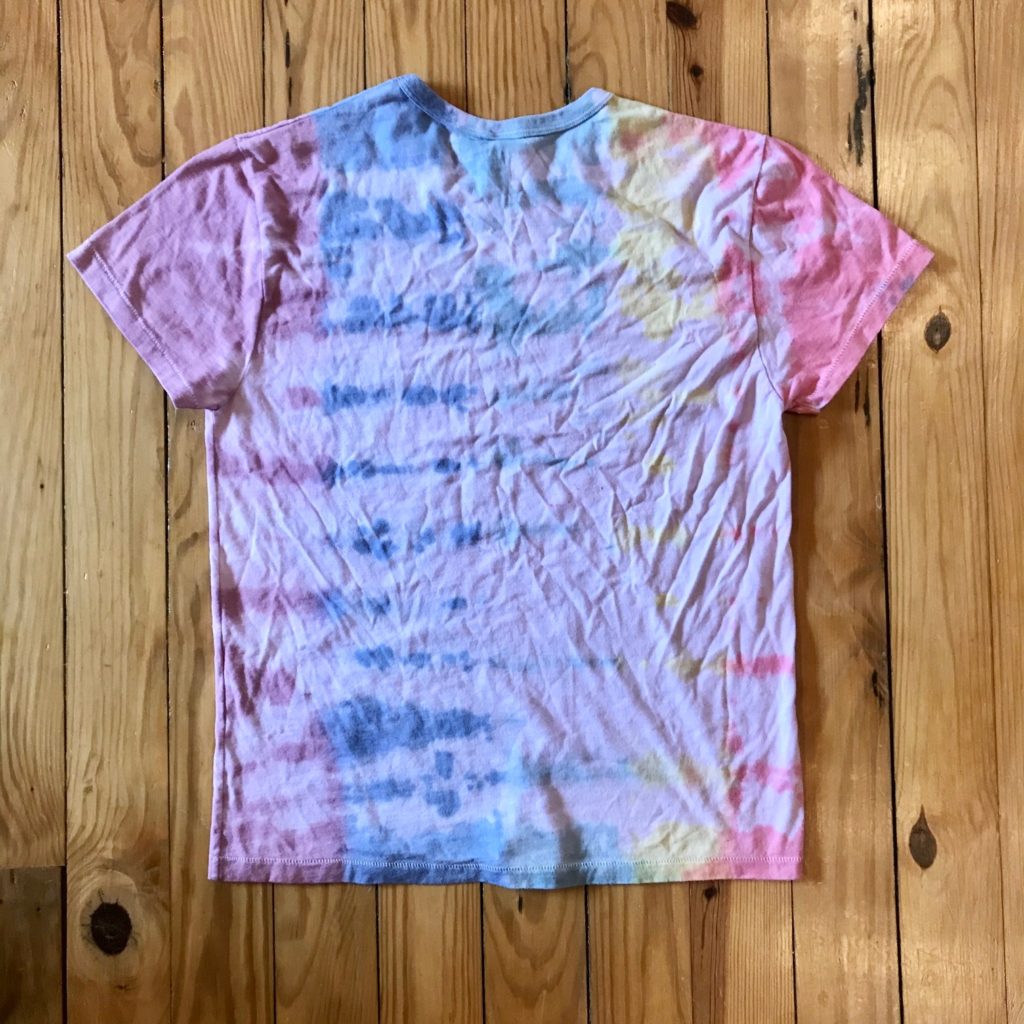
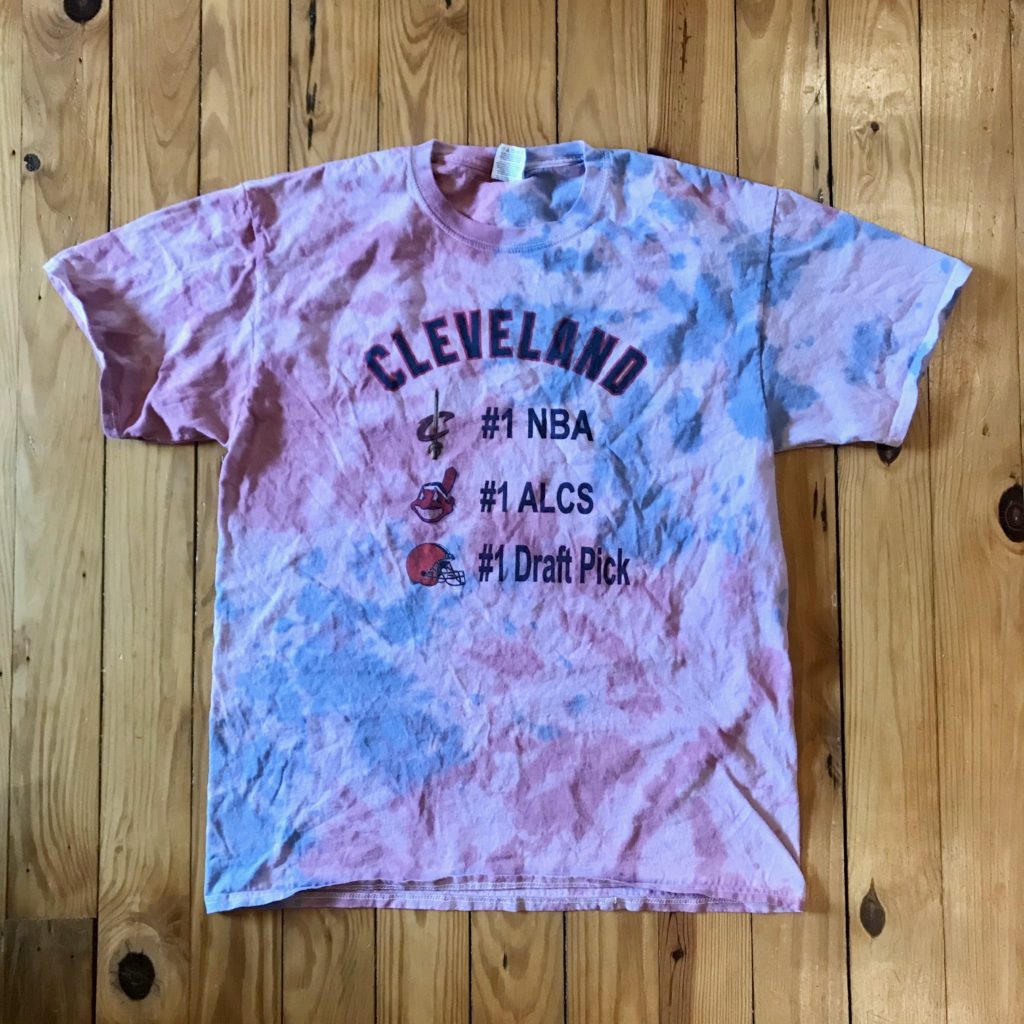
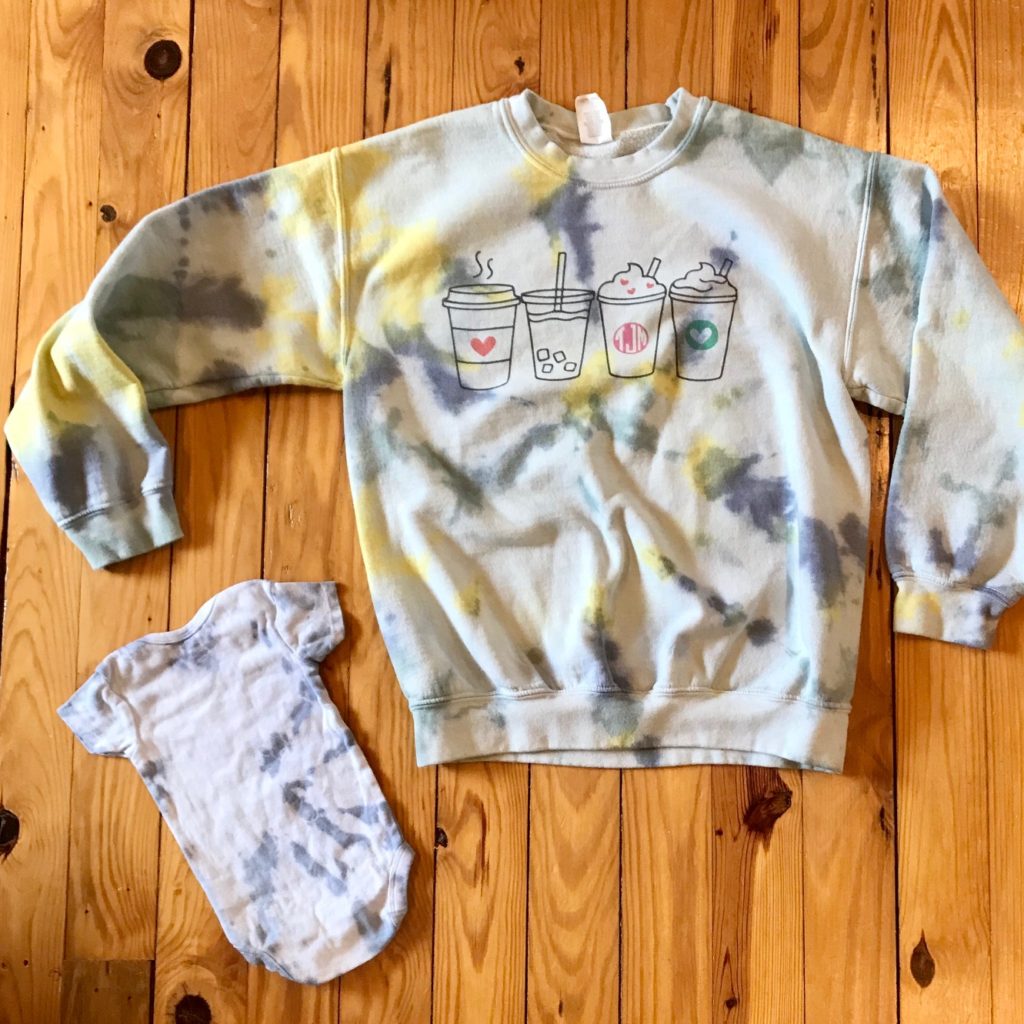
WAH-LAH! DIY Tie Dye!
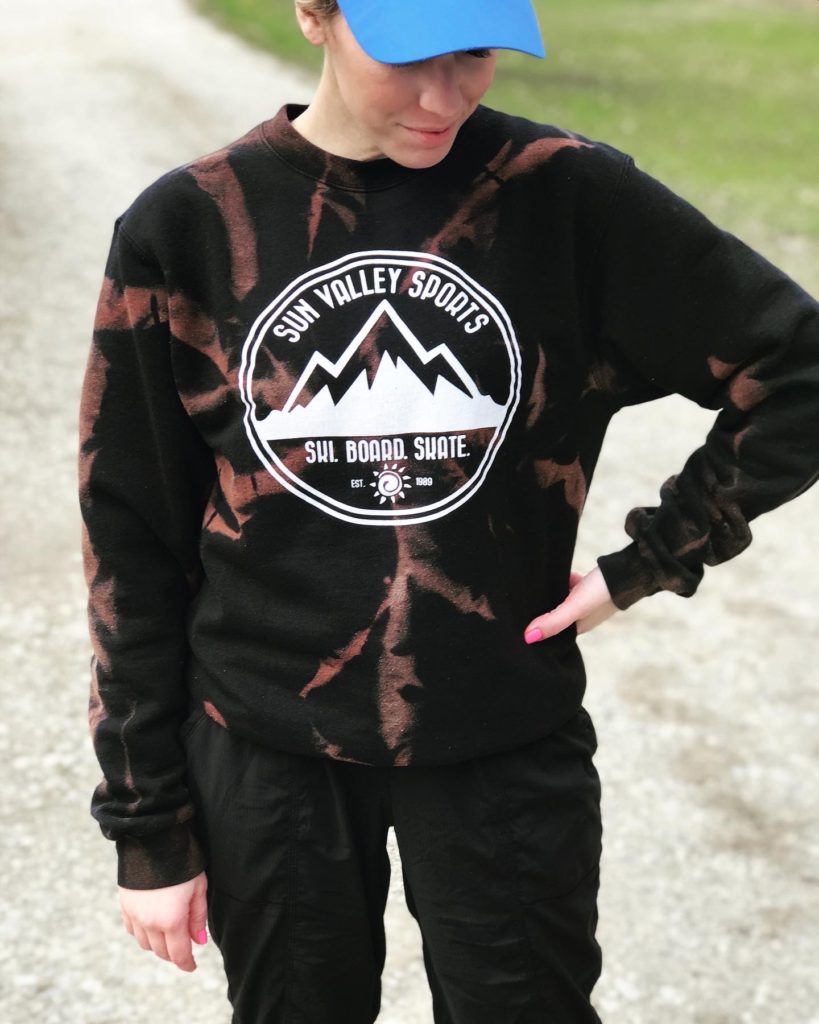
My second technique is sure to be one where you have all the supplies at home. This technique is called REVERSE Tie Dye!
What you’ll need:
- bleach
- water
- a spray bottle
- a black or dark colored garment (an old band tee would be cool!)
- gloves
- rubber bands or zip ties
- Mix 1 part bleach to 1 part water in a secure spray bottle.
2. Secure your garment with rubber bands and make sure you do this outside!
3. Spray the garment on one side with bleach.
4. Wait until the garment starts to process, then flip it and spray the other side.
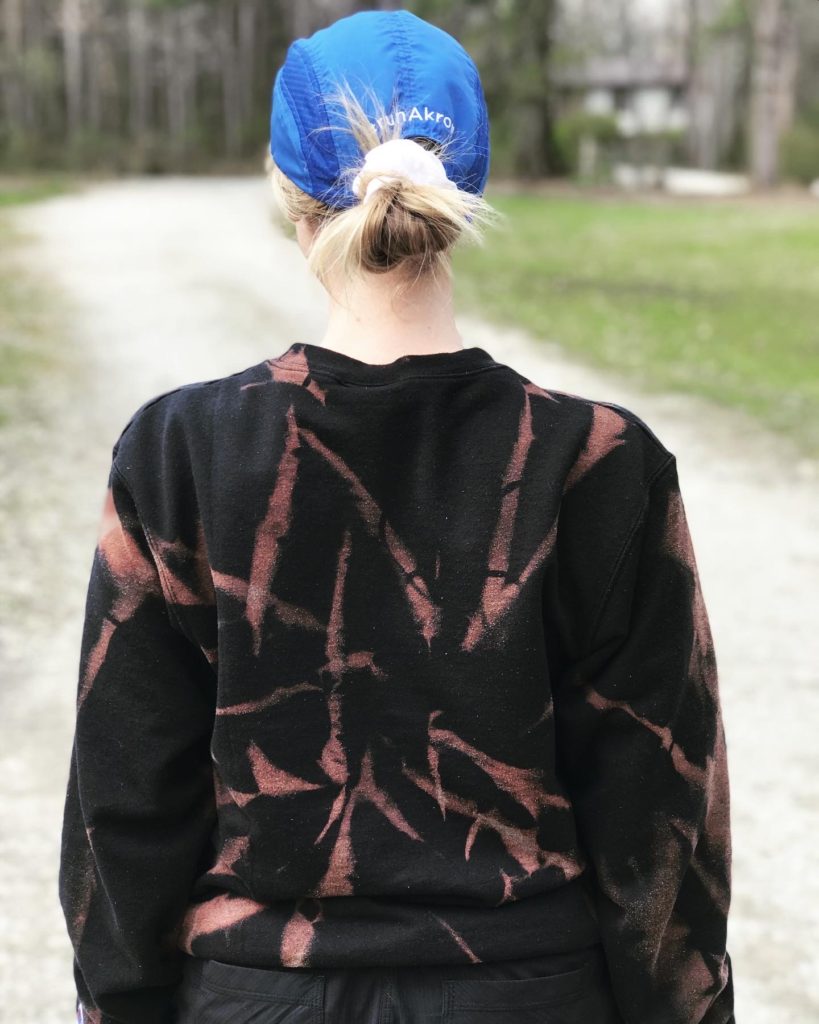
5. I recommend waiting 30 minutes to 1 hour and spraying the garment a few more times with your bleach solution before finishing.
6. Once you are happy with the processing color, rinse the garment in cold water, remove rubber bands and put into the washer (separately!)
I hope you enjoyed this tutorial! Have you tried the Tie Dye trend yet?
XOXO ~ Taylor
Aw, you did a onesie! A tie-dyed onesie is actually my go-to baby gift! They just look so cute as little hippies. ☺️ Plus my maiden name was Dye, so it comes naturally. Your pieces look great!