How I Restored a Beat Up Kate Spade Bag

Have you ever passed up a $5 or $10 designer bag at the thrift store because it was a little beat up – like to the point where you would have to take it to the cobbler or become one yourself? Yeah- me too.
But I got brave because I think subliminally I want to have a cobbler skills feather in my hat.
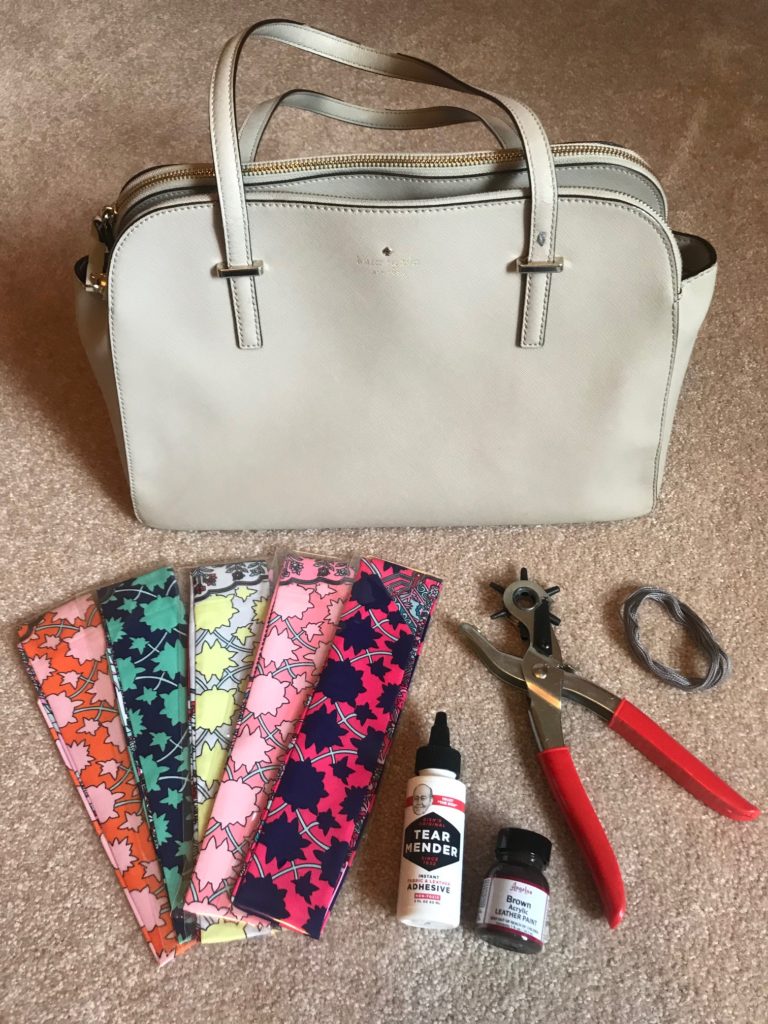
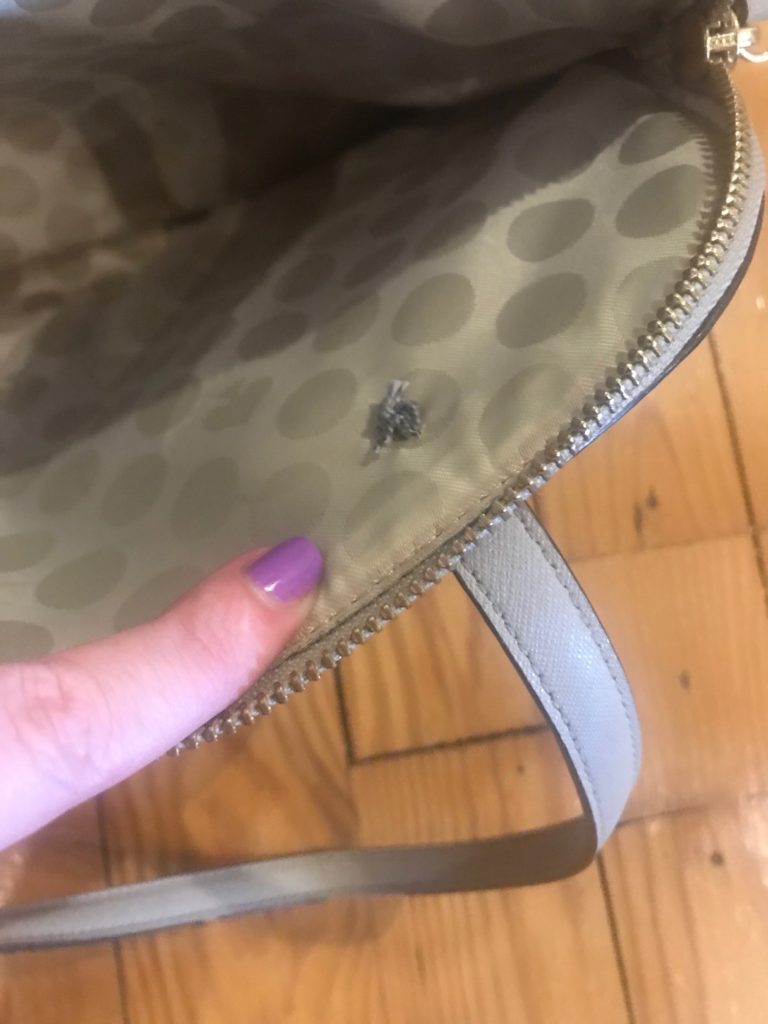
I won this kate spade tote on shopgoodwill.com for $16. The handles were a little rough but I had an idea for that. And there wern’t too many scuffs some saddle soap couldn’t clean up.
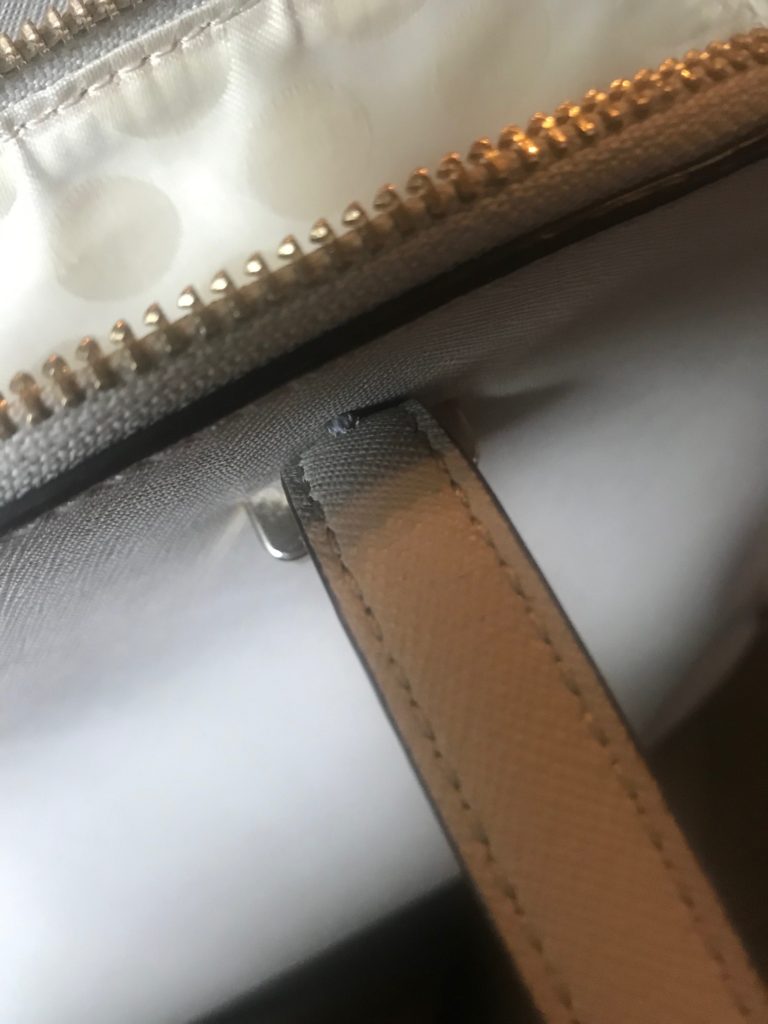
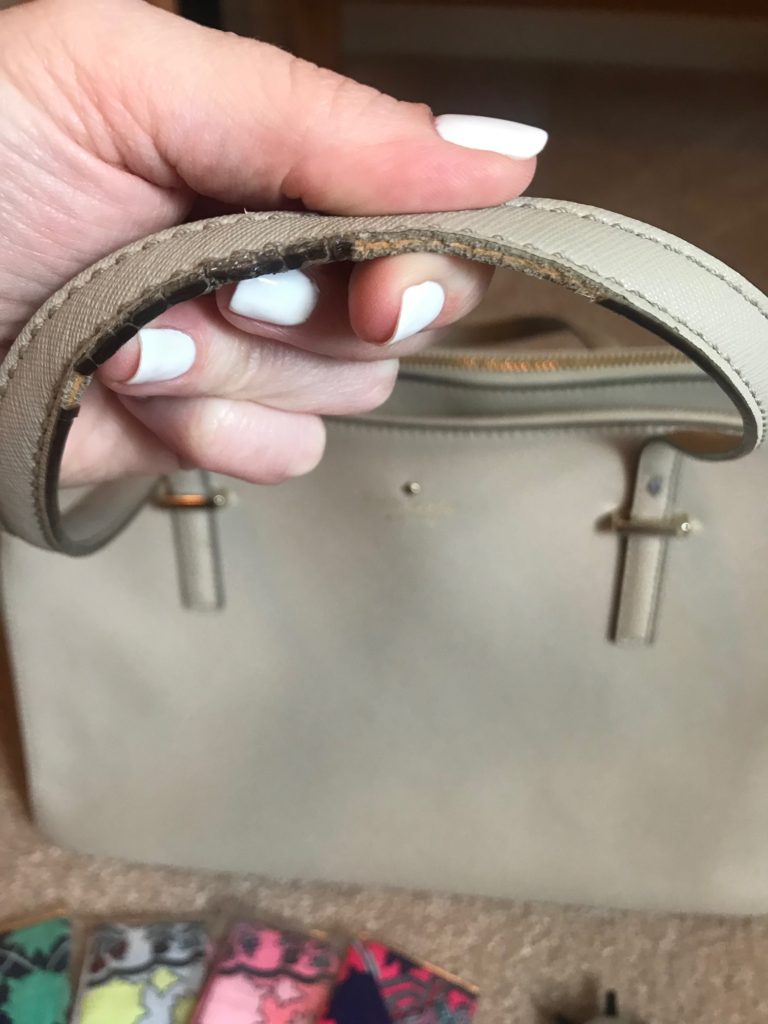
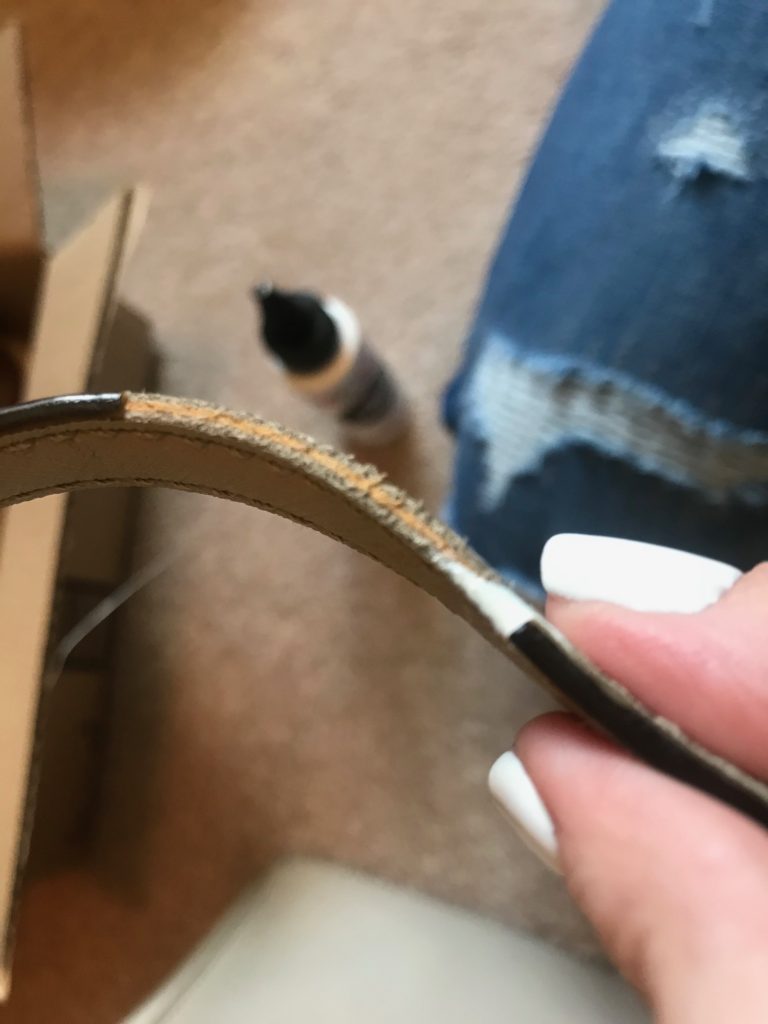
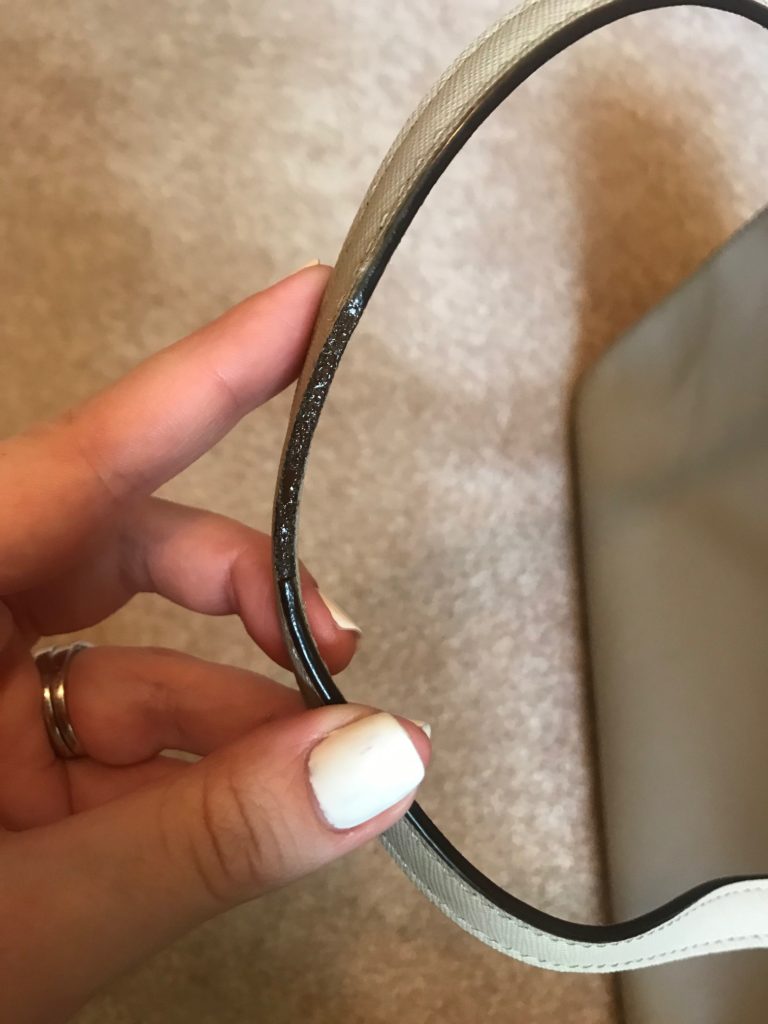
When the bag arrived, it was mostly as I expected. EXCEPT the front right handle was cracked at the hardware and there was no way to remove the handle and replace it. I didn’t even want to consider taking it to the cobbler or sending it away to be replaced.
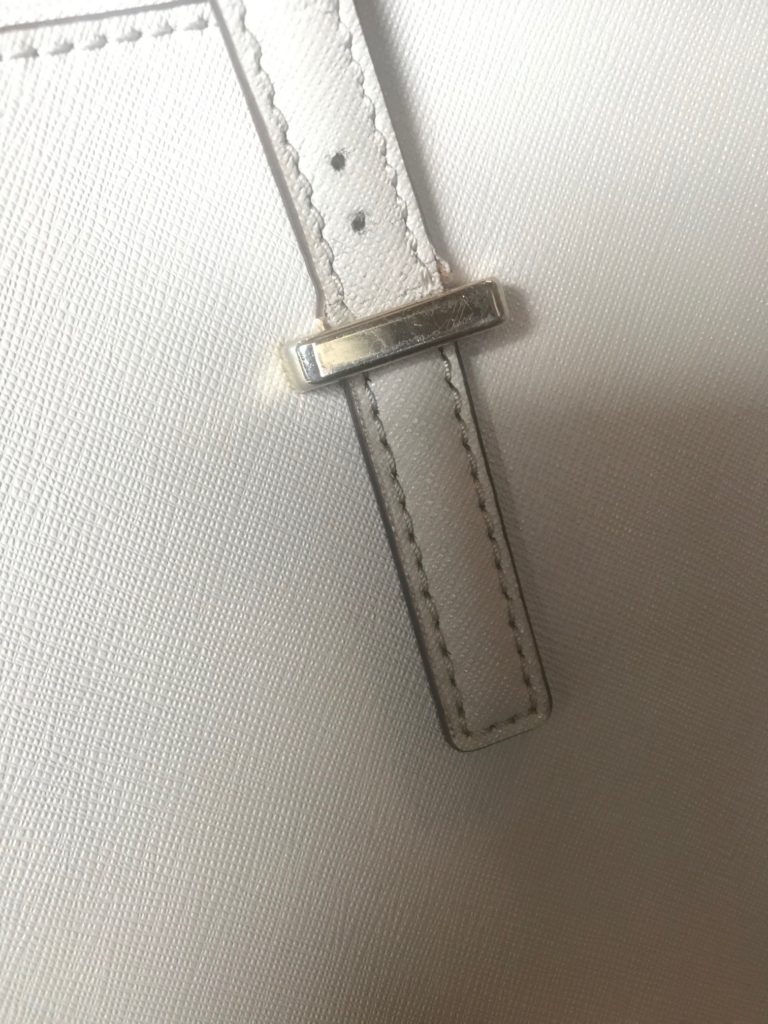
The front part of the handle was still in tact, but the back was the cracked part:

So- I sat and stared at it for a few hours, and then I got my leather belt punch out, set it to the smallest hole and punched two holes just above the hardware and then did the same thing through the rest of the bag.
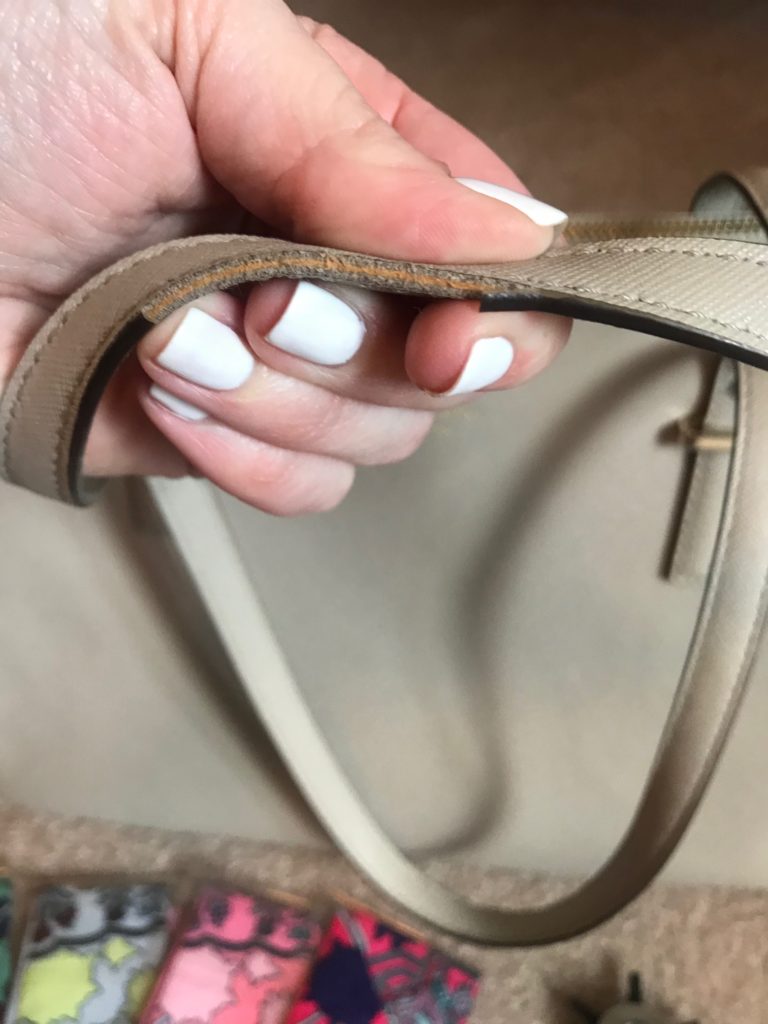
Then, I used some gray embroidery thread and fastened the handle to the main part of the bag to secure it.

It turned out really well- so I watched half a youTube video on repairing handle edging on a kate spade bag and ordered some leather glue, leather paint to match the brown edging, and some twilly scarves.
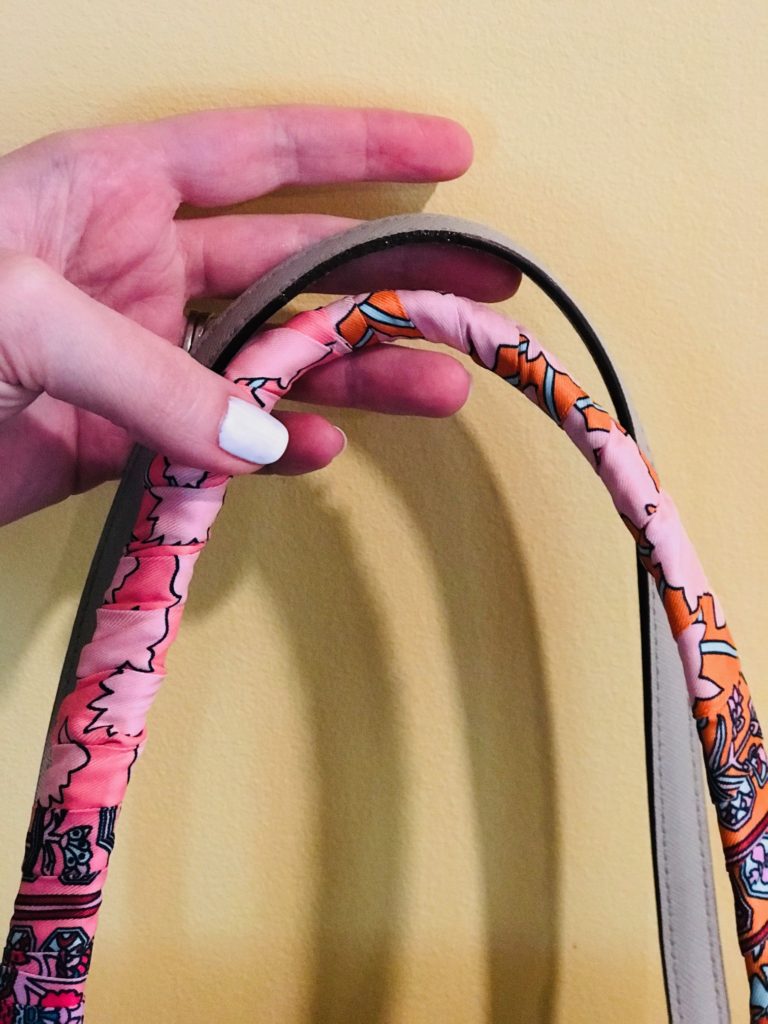
Front handle:
Back handle:
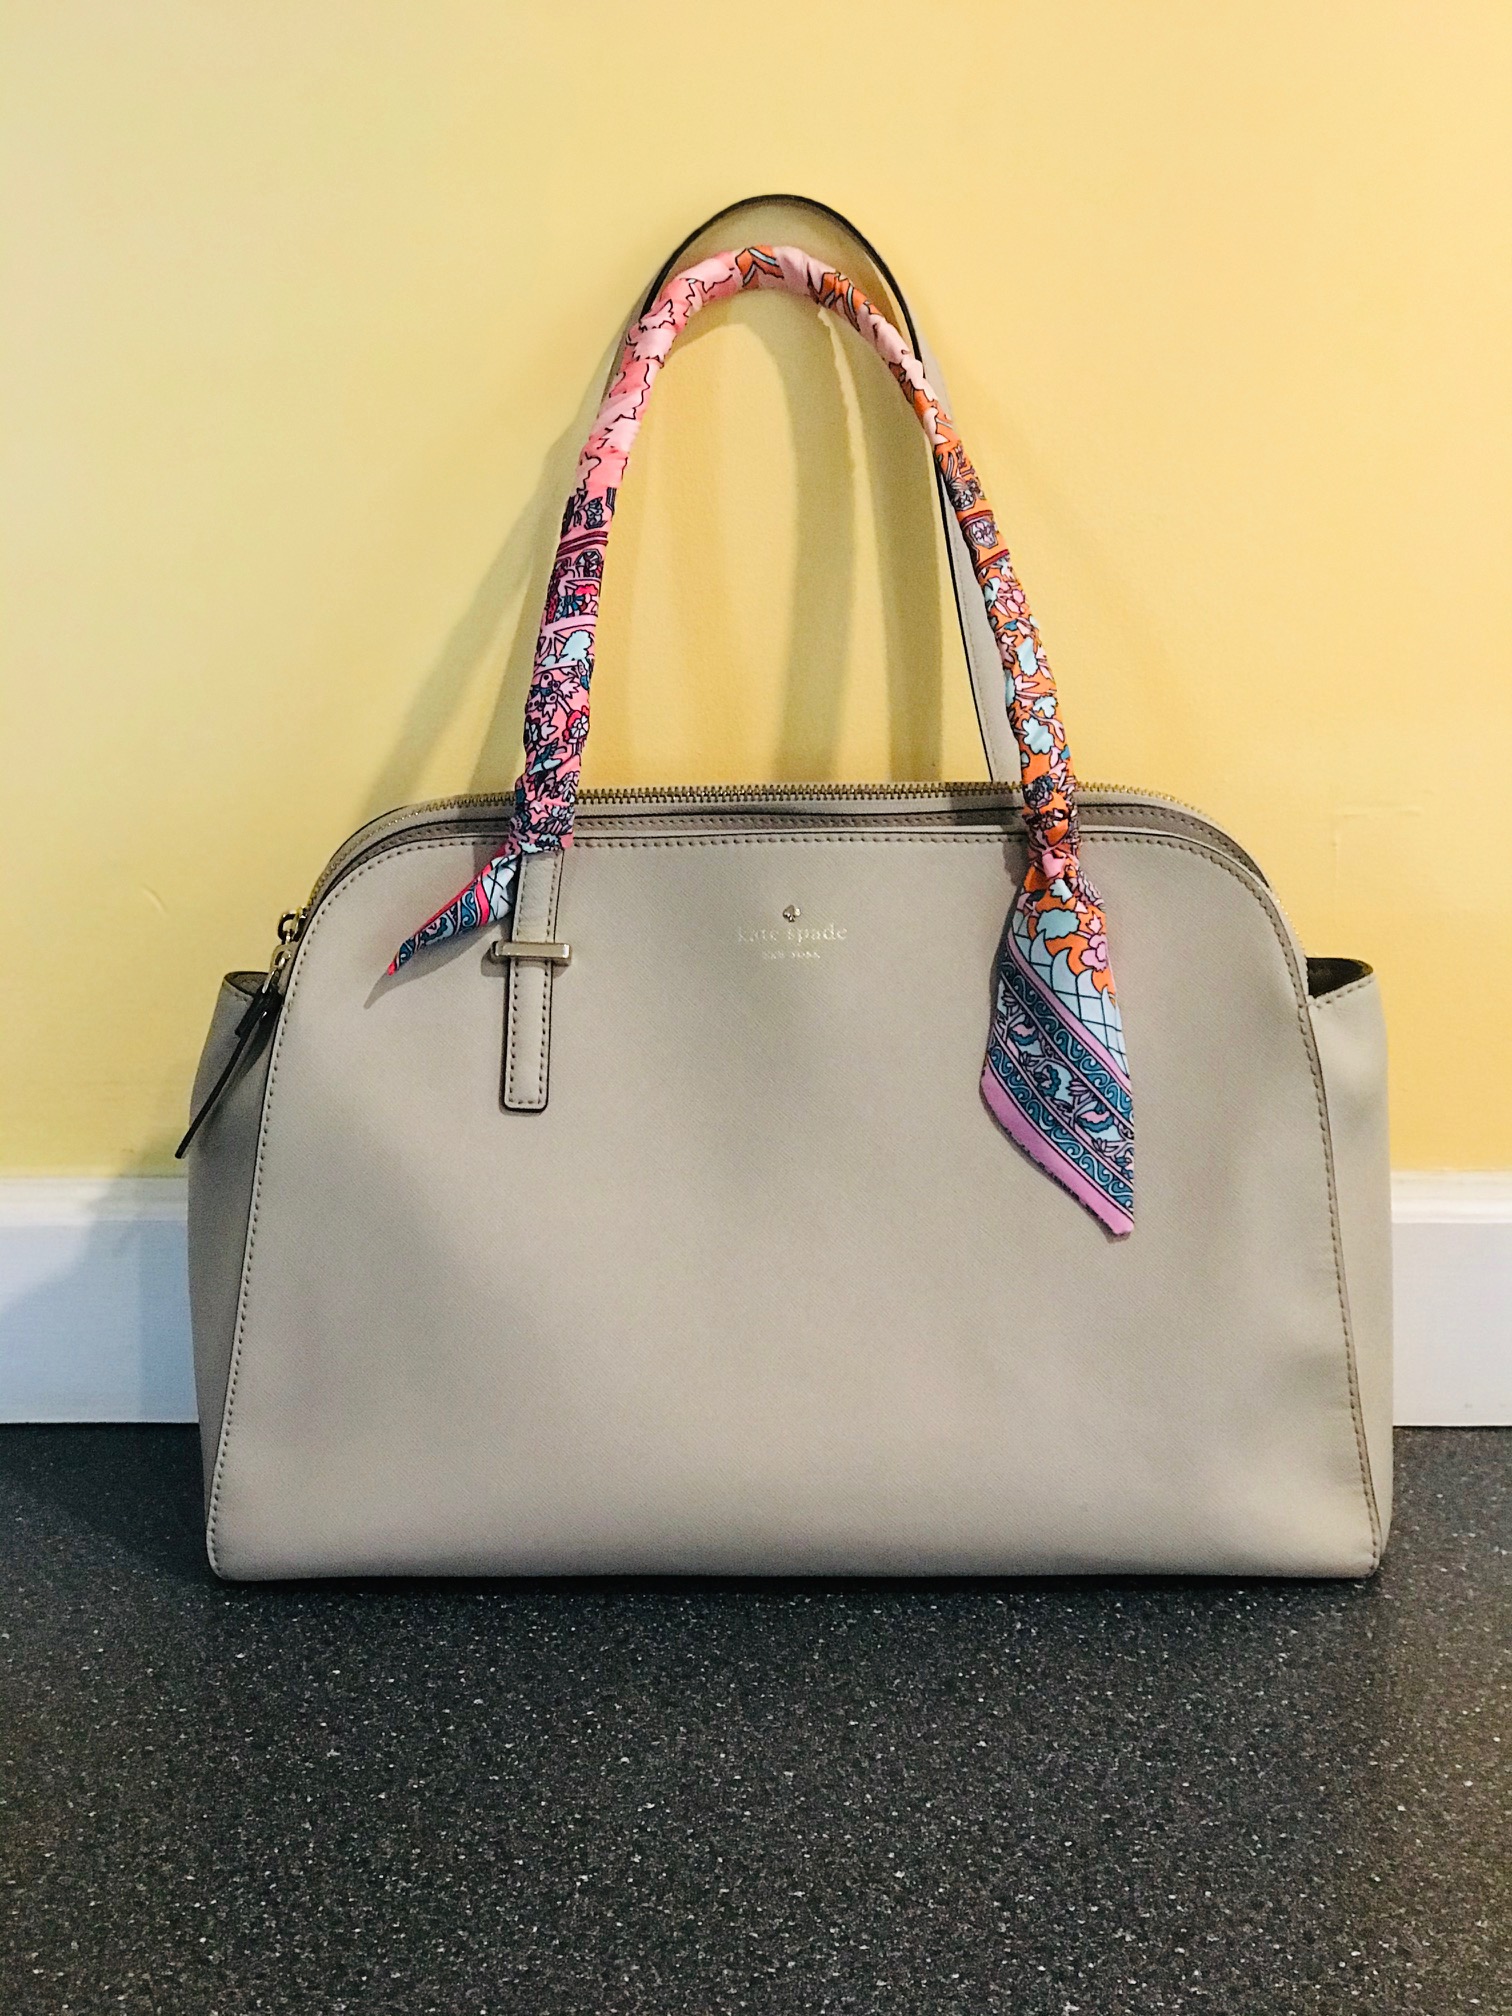
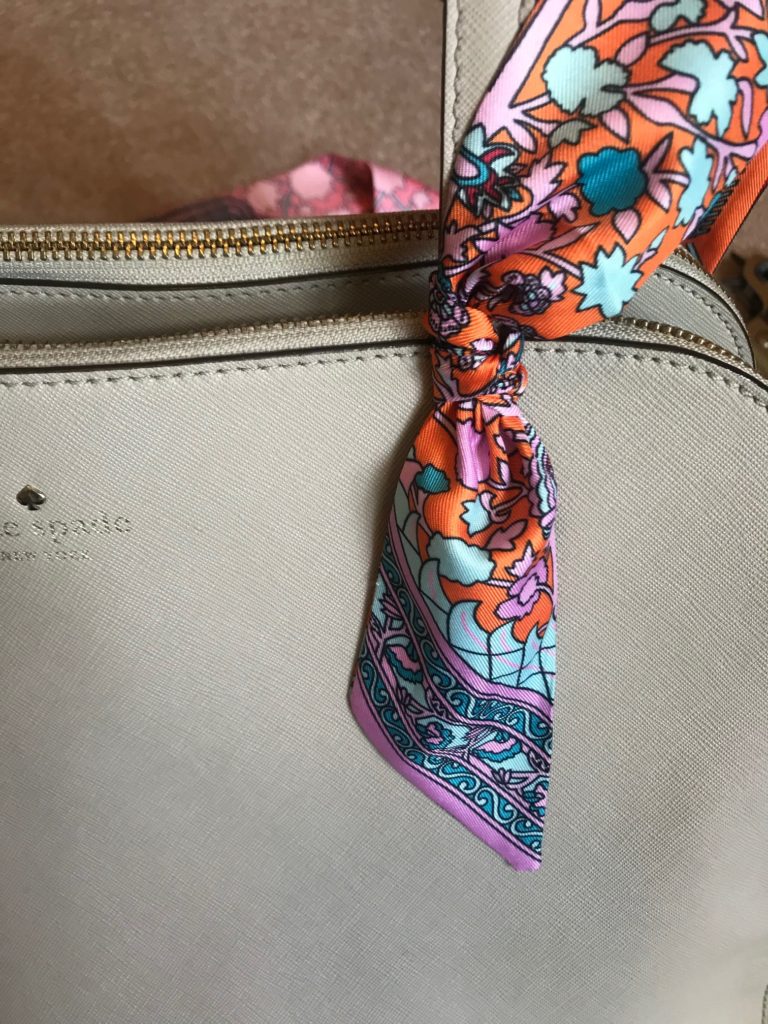
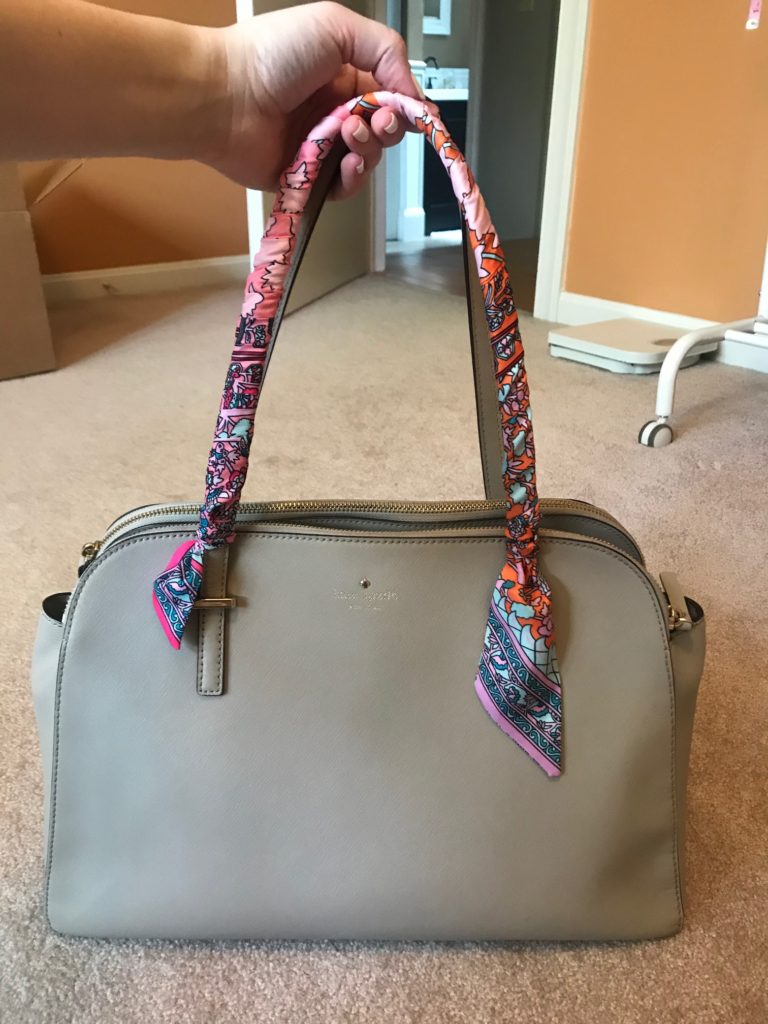
I took 2 approaches to fixing the handles. The one in the front was worse so I decided to just cover it up with twilly scarves. I hand stitched two together to make it all the way around the front handle.

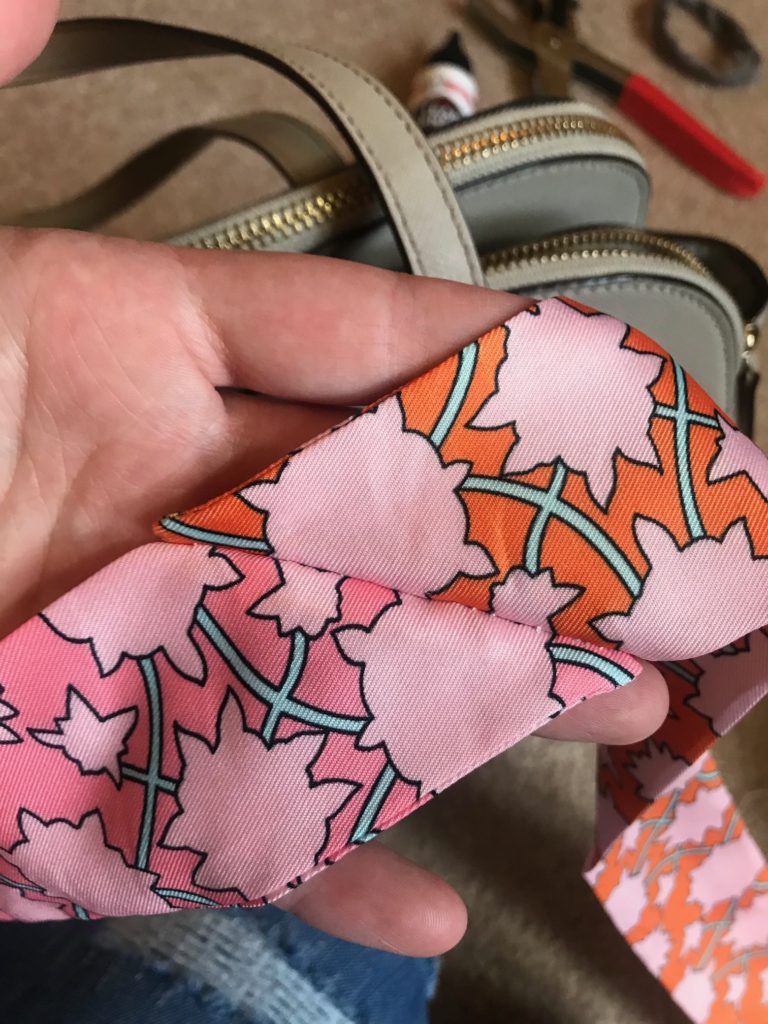
Tying the twilly scarves around the front handle also allowed me to cover the stitching on the handle I fixed 🙂
For the back handle, there was only one section of edging missing, so I used the leather glue to glue down the piece that was there, and then carefully painted the missing section with the brown leather paint. The special thing about these products is that they are designed to be flexible and not crack like normal glue and paint products.
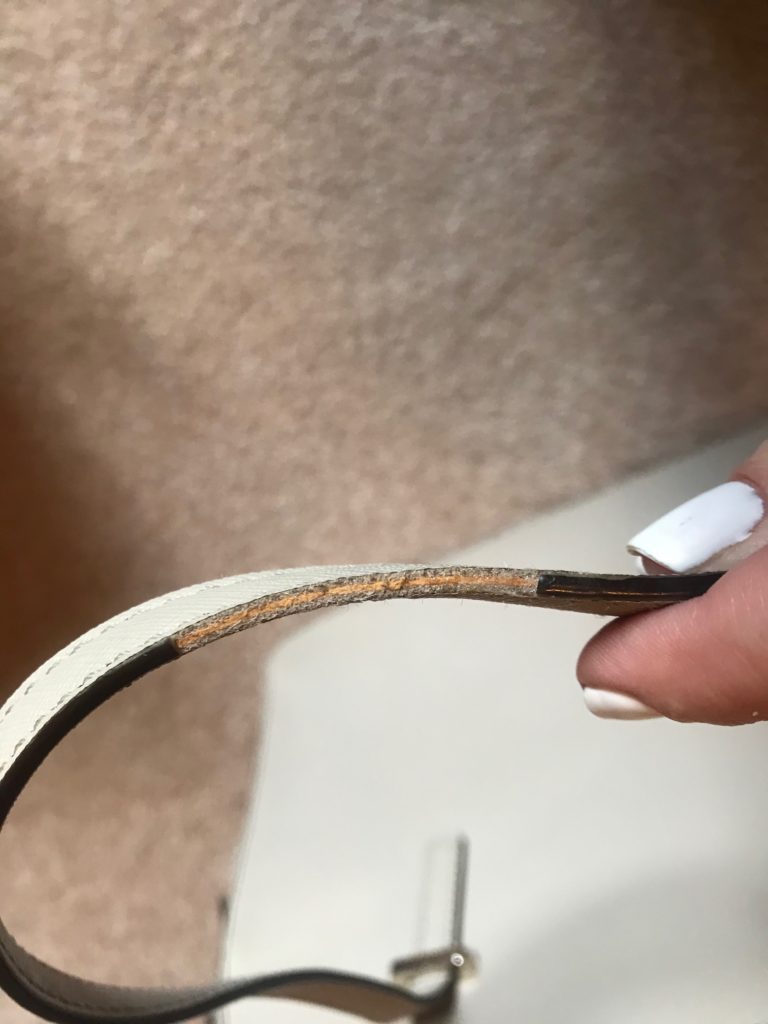
I layered several coats of paint to make sure it was totally covered and then let it sit to dry overnight.
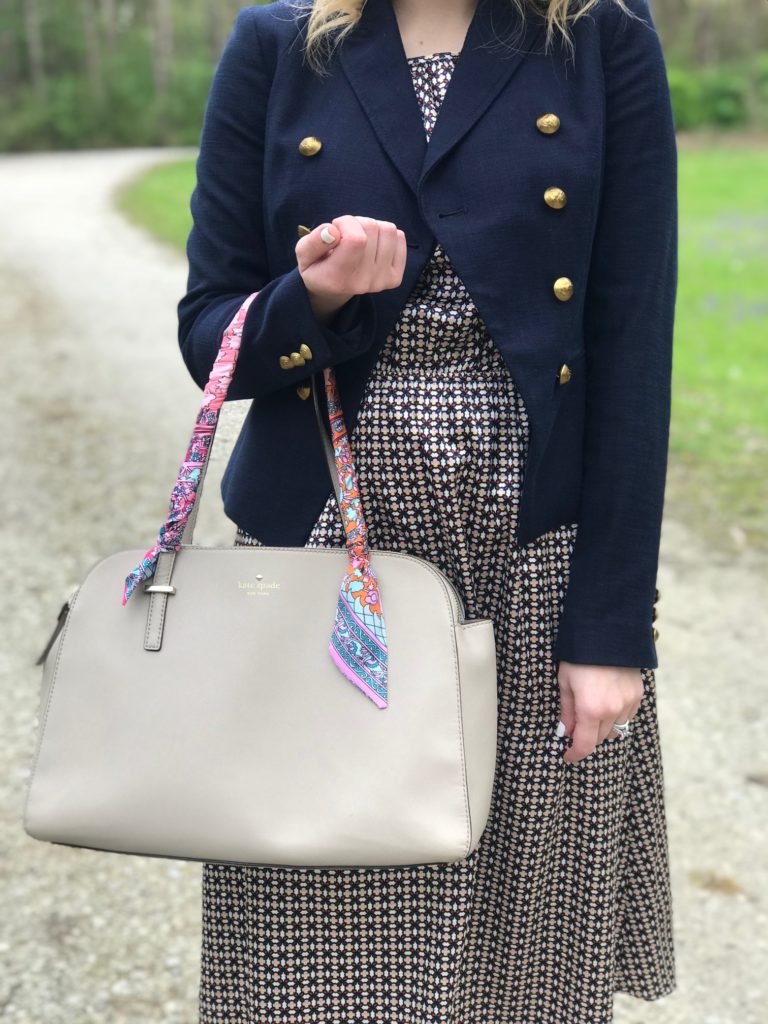
All in all, I’m super happy about how the bag turned out. It’s one of a kind and ready for a second life 🙂

Products I used:
Pack of 5 twilly scarves for handbag handles
Have you ever fixed up a bag? It’s kind of therapeutic and you can be really proud of yourself at the end!
XOXO ~Taylor
I love Kate Spade! This bag is really cute, so I’m glad you figured out how to restore it!
Very nice. Looks great.