How To: DIY Gel Manicure

Hey Gals,
Today I am sharing with you how I do DIY Gel Manicures at home! I’ve been doing my own gels since I was a sophomore in college and I honestly have a hard time going back to regular polish on my hands. BECAUSE there is no dry time!
Gel polish lasts for 12-14 days and doesn’t chip. I am hard on my nails. I sit at a computer all day typing, and with all of my house chores – forget about regular polish that chips in just a couple of hours.
It’s honestly not that much harder to do gel polish and once you have some practice you’ll be a pro!
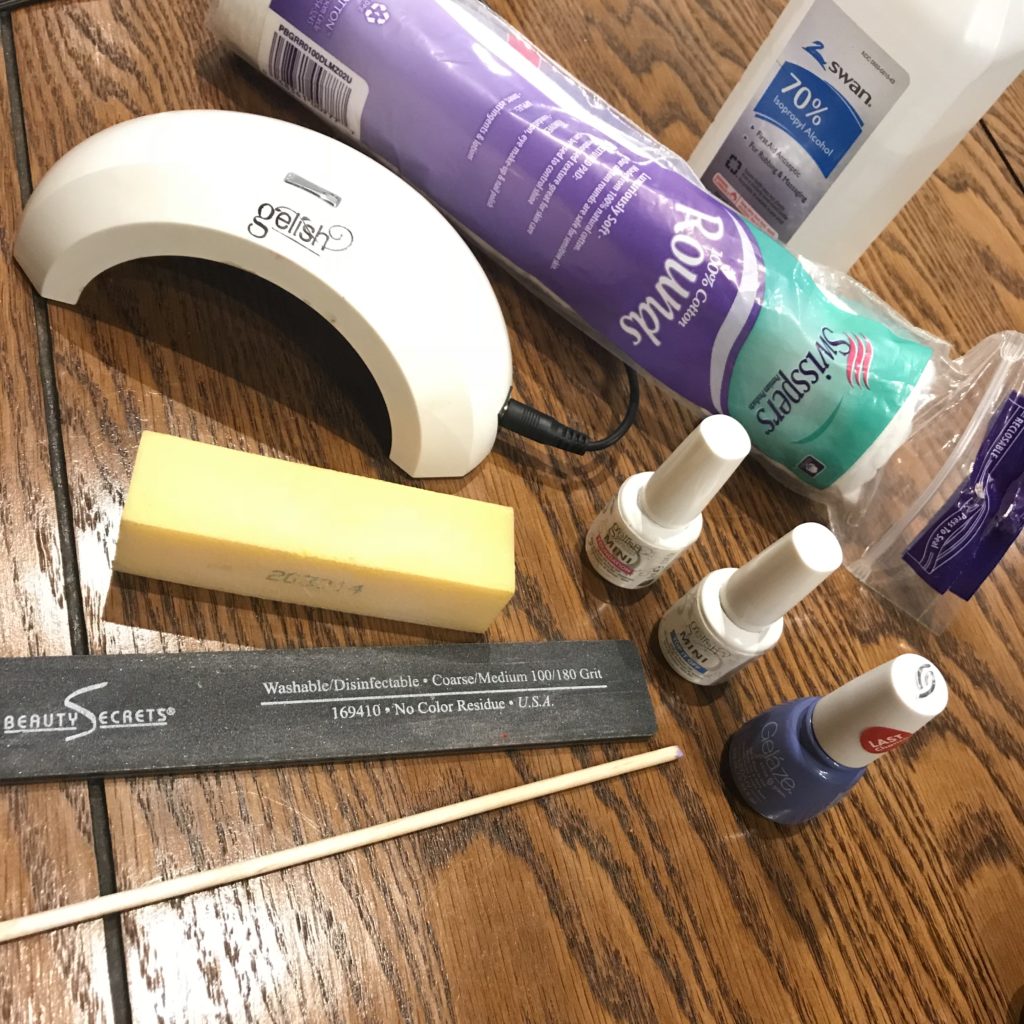
I use the Gelish LED curing lamp. You can get the whole starter kit including some color polishes for under $100 here. While that may seem like a lot of money (and it is) just think of all the times you shell out $10+ dollars for a regular ol’ nail polish. That adds up FAST. But with this investment you’ll save in the long run on time (because your polish doesn’t chip every five seconds) and money (because you won’t be tempted to buy regular polish).
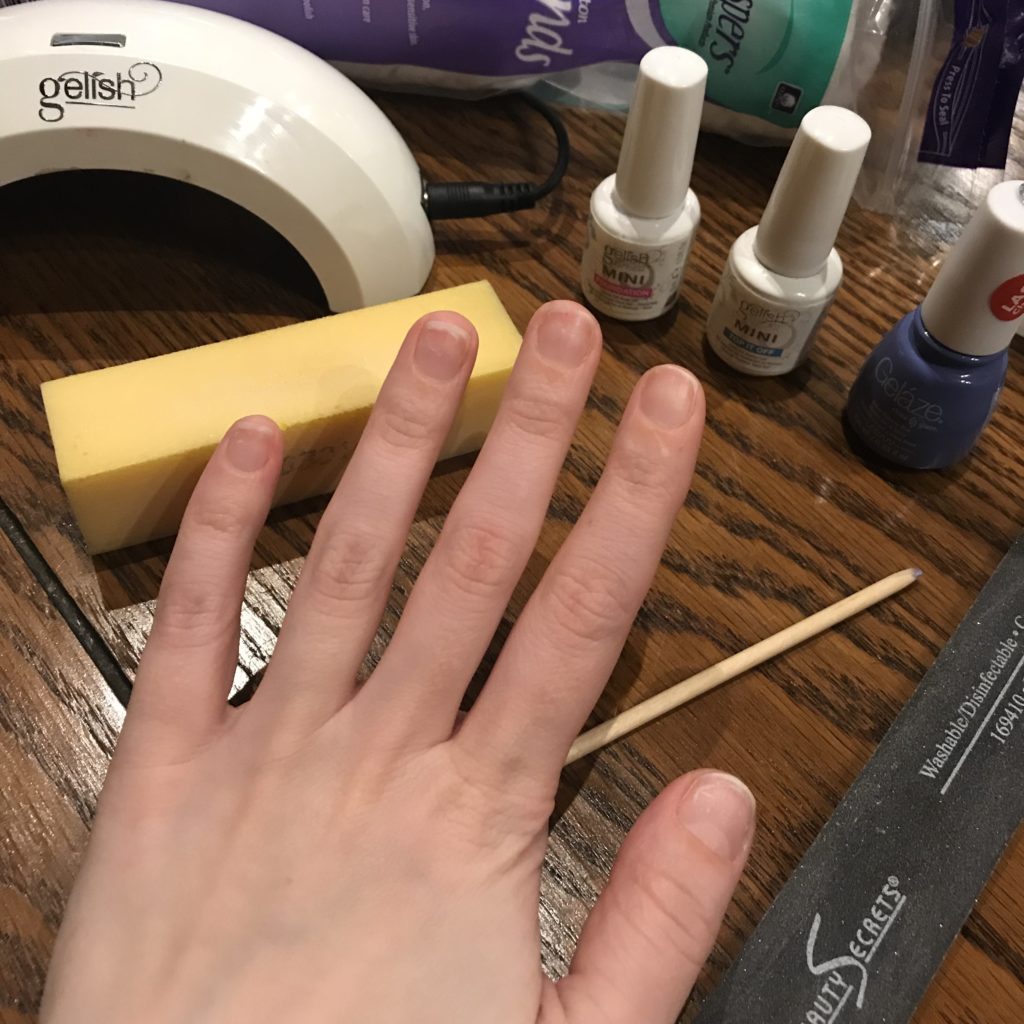
STEP ONE: Prep your nails/Pick a color.
Make sure you are starting with smooth, clean nails. It’s harder to touch up the shape and surface of your nails once you’re done with gel polish so make sure you have your nails prepped and ready. I use a cotton pad and acetone or rubbing alcohol to clean my nails with. *Make sure you get all the fuzzies off before you start* You don’t want to seal those in or you will notice them on your nail in the polish once you are done.
Pick a color! Pick a color before you start. Shake it WELL and crack the top before you start so you can get it off with wet nails.
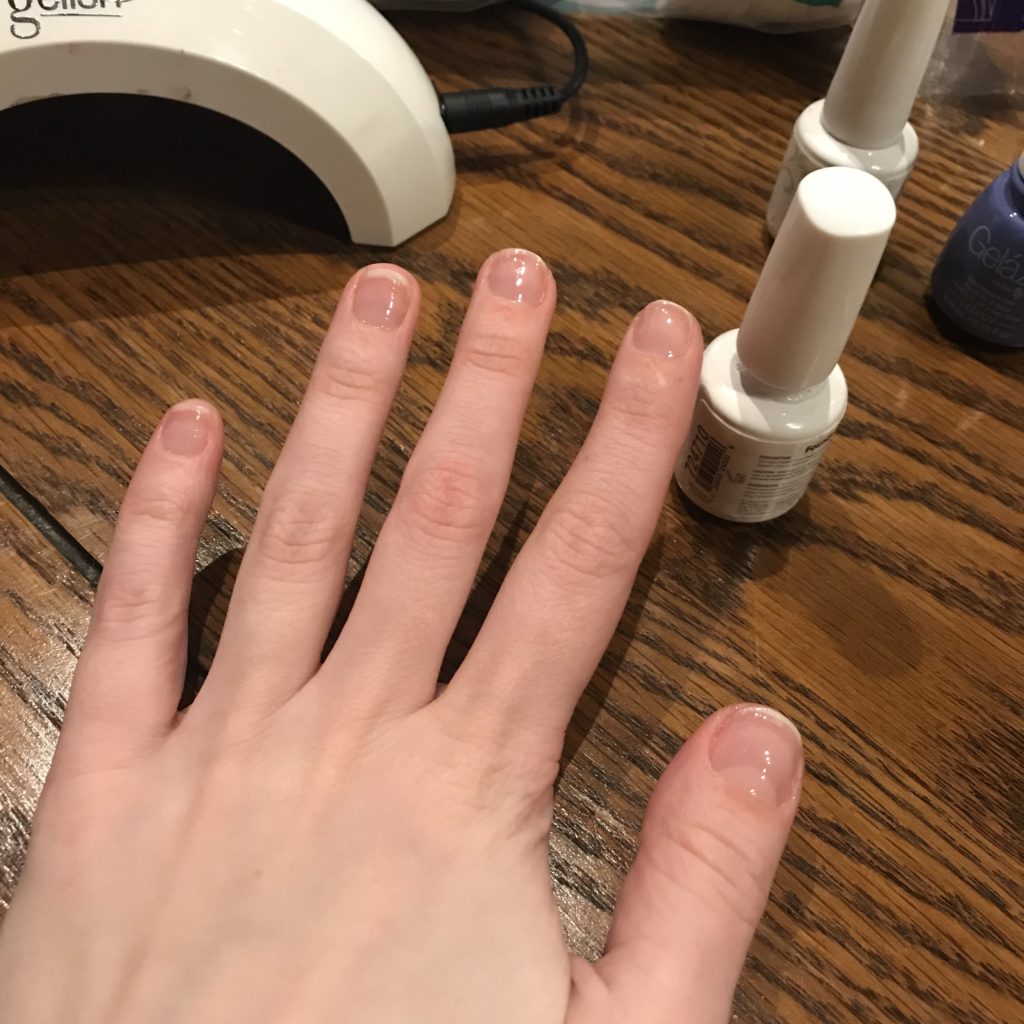
STEP TWO: Foundation Coat.
Use the Foundation Coat first. If you bought the above kit, you will also get a pH bond and Nourish coat. I’ve used them in the past but never really felt it made a difference, so I skip that step.
Apply a thin layer of the foundation coat to one hand (When I’m doing my own nails, I do one full hand at a time to avoid mess ups- in the long run it’s faster this way). You don’t want this to get up next to your skin or cuticles because once it hardens in the light it’s hard to get off. Plus, when your nails start to grow out, they are more prone to chip because the polish is not flush with your nail (ALL THINGS I’VE LEARNED BY EXPERIENCE).
Once this is complete, cure all of your fingers in the light until it turns off (self timed lights are the best). Then cure your thumb (The light I linked doesn’t fit all 5 digits at once- in my opinion, it’s only downfall.)
STEP THREE: Polish Coat
I typically do 3 polish coats. Most guides say to do 2. It’s totally up to you and how much coverage you like. I like a lot 🙂
Thin coats are key here. Even though your first coat may not look good, remember it is not the finished product! It’s okay if you can still see through to your nail. Thinner coats cure much better. I wipe off most of the polish from the brush before starting on my nail. You don’t want it to run down onto your cuticles or skin. I use these wooden nail sticks for spots that may leak down. I’ve litterally only ever bought one bag and I’m not even through them after 6 years. Make sure you check that no polish has leaked in between your nail and skin BEFORE you cure the polish.
Cure fingers. (Repeat this step once or twice according to preference).
Coat 1:
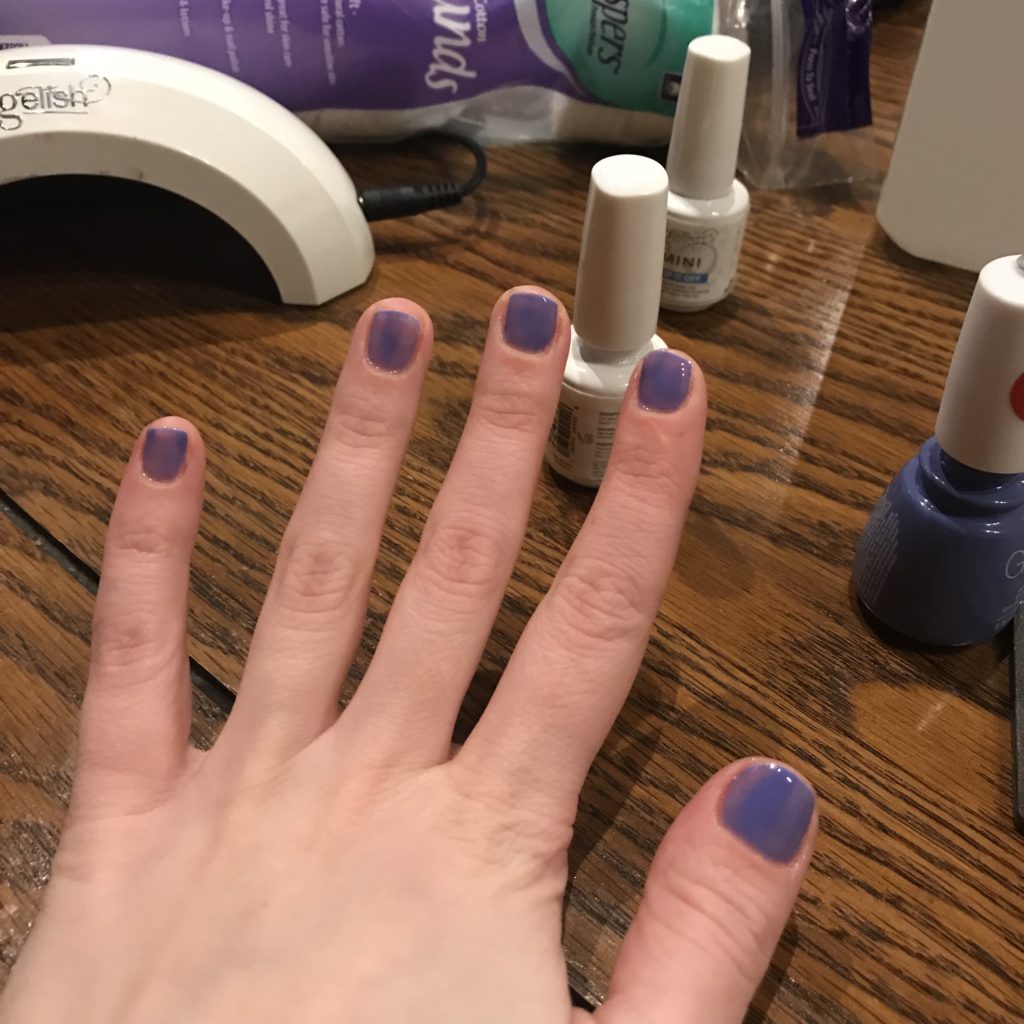
Coat 2:
STEP FOUR: Top Coat (ALMOST DONE!)
Again with the thin coats. Just make sure you cover the whole nail so that the color will be protected on the whole nail.
Once you have finished the top coat make sure to peak in the light when you stick your hand in to cure. If you have forgotten a finger, it will be obvious by the color of the nail because they change color with the top coat in the LED light.
STEP FIVE: Wipe Clean with rubbing alcohol
Once you have cured all your fingers (that sounds so funny when you type it out), take a cotton round and wet it with rubbing alcohol. Wipe each finger to take away any stickiness and WA-LA! Clean, dry, polished nails!
Tip- I always wipe my pinky finger first JUST IN CASE I forgot to put a top coat on or I lost track of what step I’m on (it happens LOL). This way if you have to re-do a finger at least it is the smallest (haha).
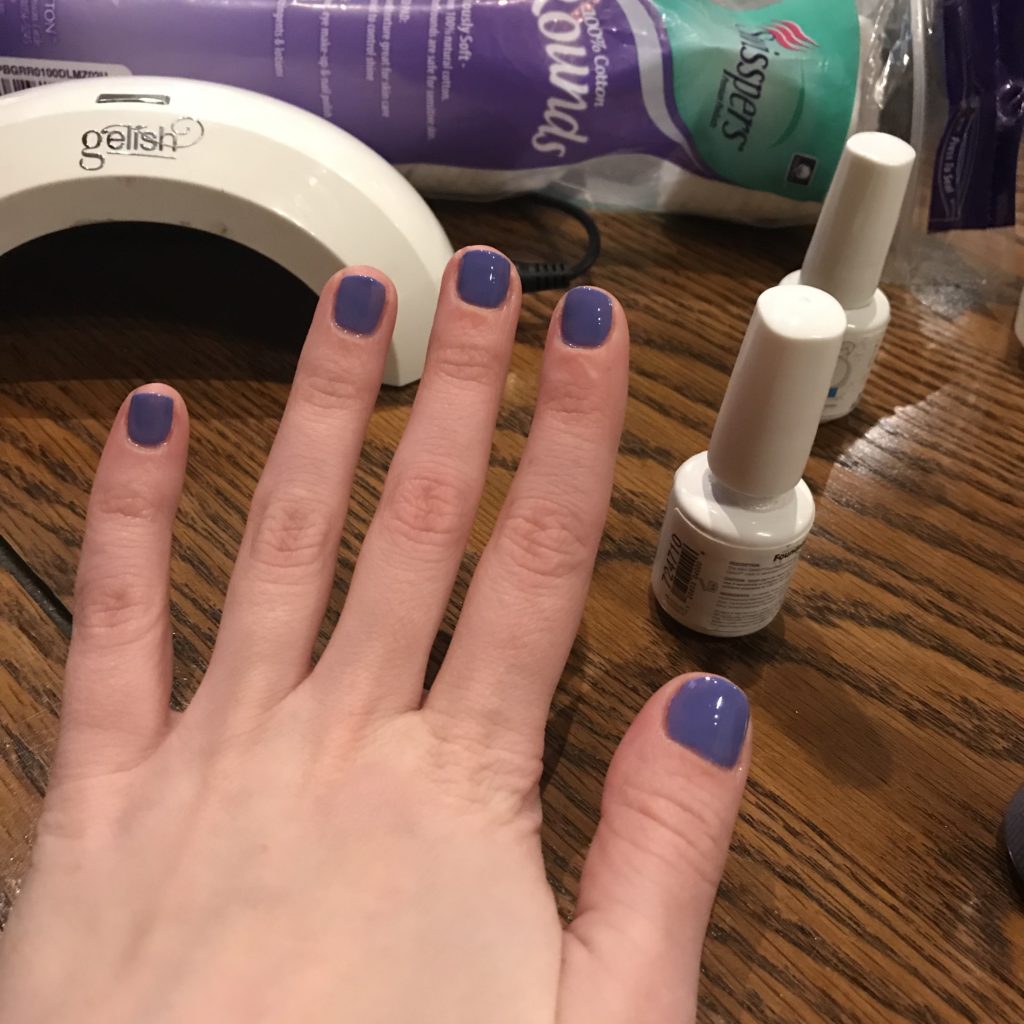
3 Coats and top Coat:
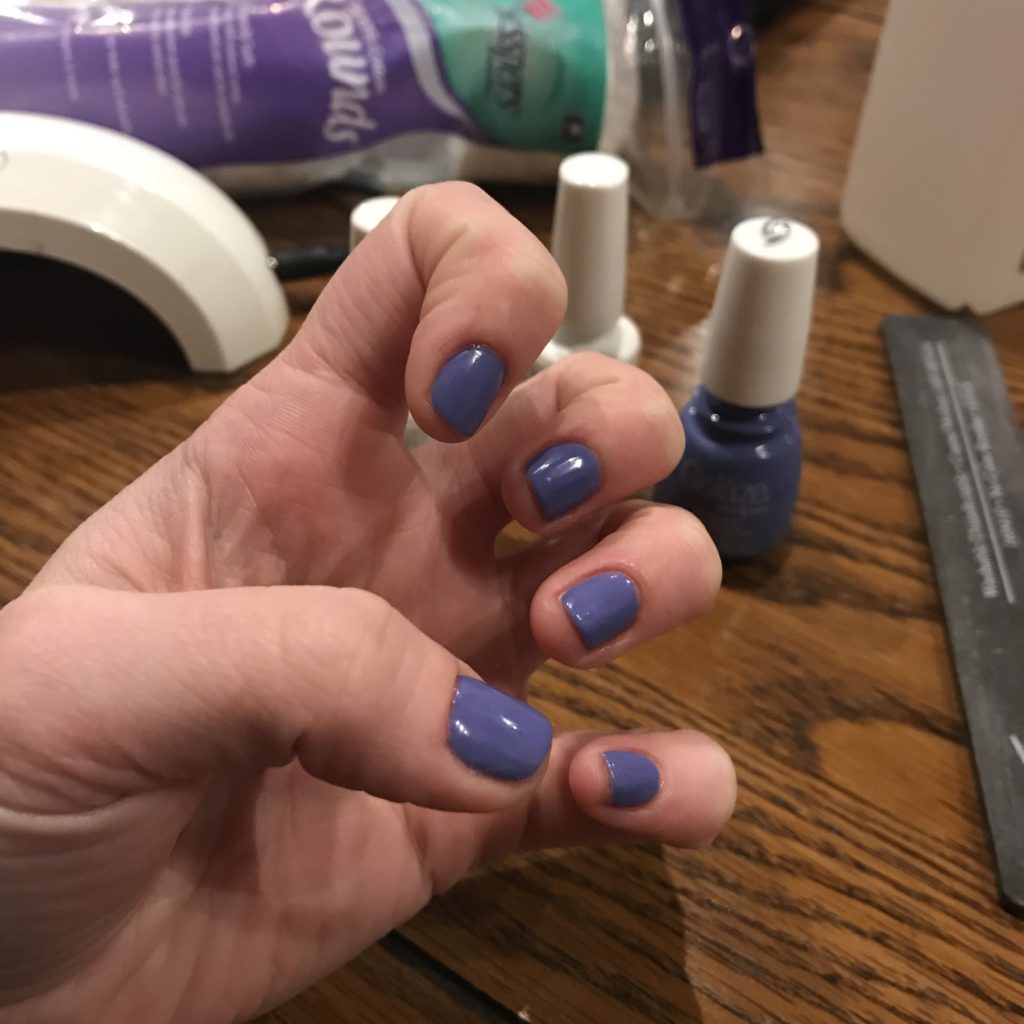
Finished Product:
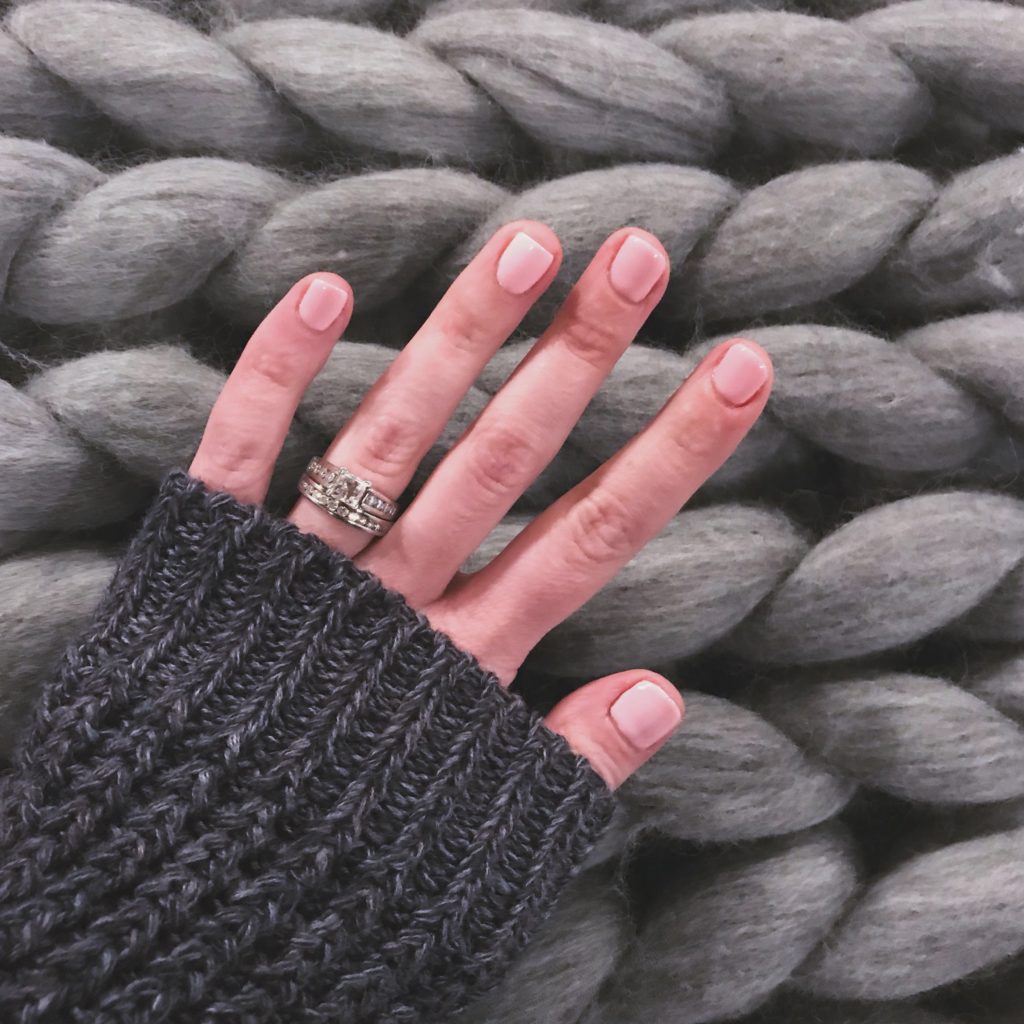
Day 12:
My favorite dark color: Bella’s Vampire
It’s this amazing dark purple/red/black. It’s my go to when I don’t know what else to pick!
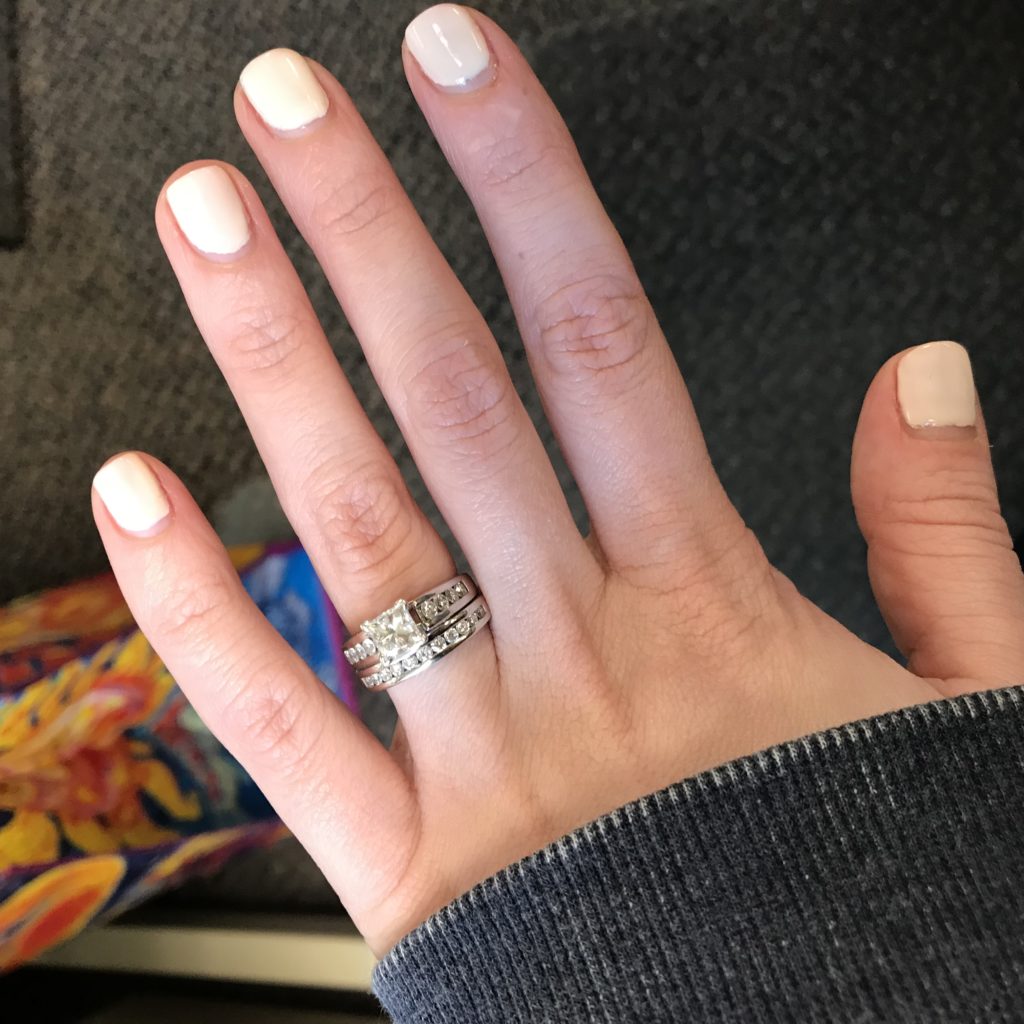
My favorite light color (pictured above): You’re So Sweet You Give Me a Toothache
A really pretty light pink that kind of faded to a cream color over two weeks.
Note about light pink colors: In my experience I have found the lighter neutral colors like the above seem to sort of bleed off over the two weeks I have them on. I don’t know why this is but definitely shake the lighter colors WELL. I have not had this problem with dark colors (which are personally my fave) and I have not had this problem with white colors.
Gelish Mini is definitely my favorite brand of gel polish, but I also like the gel-aze. (the brand of the periwinkle color I showed in this post) And the cheapest but not bad is finger paints. I have been avoiding ASP. I personally do not like this polish and just figured while I’m here I’d share that with you as well.
Well, that’s it! Do any of you do your own gel manicures? Have you been thinking about investing in a gel light system? I’d love to hear from you!
keep on keeping on…
* This is not a sponsored post and all opinions are my own *
![]()
Yes! You got me hooked on doing this! I’ve saved so much money not only on buying regular polish but from going to a salon to get a gel manicure (which is often $35+ for me!) I personally also like the Aemeli brand as well for polish! And I love the color recommendations, especially that periwinkle–so pretty!
I haven’t heard of that brand! I will have to check it out 🙂 Thanks, as always, for reading Catherine! <3